Wednesday, July 27, 2011

Name Garden

Your kids will love seeing their names grow out of of thin air {or thick dirt} with this fun project. Just follow these simple steps:
1. Fill a tray or cookie sheet with a layer of garden soil.
2. Have your child trace their name in the soil and then fill the letter-shaped trenches with grass seeds.
3. Cover lightly {careful not to distort the design} and water very often {soil should never ever dry out}.
4.Watch your child's excitement peak as they see their very own name growing out of the soil.

PhotobucketPhotobucket

Pebble Pets

Photobucket
Rocks, paints, glue, googly eyes, and some pipe cleaner make for some serious garden-y fun! Let kids make their own pebble pets to decorate the family garden.
PhotobucketPhotobucketPhotobucketPhotobucket

If you want to bump up the crafting intensity, try this fun {and more labor-intensive} tutorial to make colorful wax wings for pebble butterflies.

First: Grab a box of old {or new} crayons. Peel the wrappers off, and grate them into colorful piles on a sheet of wax paper.
PhotobucketPhotobucket

PhotobucketPhotobucketPhotobucket
Photobucket
Second:dig into those colorful piles and drop shavings into fun designs on a clean sheet of wax paper.
PhotobucketPhotobucketPhotobucketPhotobucketPhotobucket
Third: cover with a second sheet of wax paper.
PhotobucketPhotobucket
Fourth:take a warm iron to it. {Set the iron to medium-low heat. Mine was set on really high, and it burned some of the colors, and to be honest... that was kind of devastating ;). }
PhotobucketPhotobucketPhotobucket
Fifth: Let your masterpiece cool, and then cut the wax sheet into wing shapes.
PhotobucketPhotobucketPhotobucket
Finally: take a slender rock and glue the wings to it.
* I tried this with hot glue first, and it totally didn't work because the hot glue melts the wax. {um, yeah.} So use a cold glue like Elmer's {it takes forever to dry, but it works}.
*Hot glue gems and antennae to the rock body, and voila!  You have a beeeautiful pebble butterfly.

Photobucket

Paper Garden

Photobucket
Have some dirt-free garden fun with your kids by making a fun paper garden!
1. Let each child decorate their own flower pots {paper cups} and then fill their "pots" with beans or rice.
2.Then, simply cut out lots of different colorful shapes and petals with different colors and prints of craft paper and let the kids use glue sticks to create flowers and bugs for their paper gardens.
3. Finally, attach Popsicle or craft sticks to the bottoms and "plant" them in the bean-filled pots.

PhotobucketPhotobucketPhotobucketPhotobucketPhotobucket

Wednesday, July 13, 2011

Themed Play-Dates: Dinosaur Mania!

Themed play-dates are a great way to add a little structured {and hey, maybe even educational} fun to your summer days! With a few simple items you have right around the house, you can turn your kitchen, dining room, and back yard into a prehistoric wonderland.


Dinosaur Eggs:
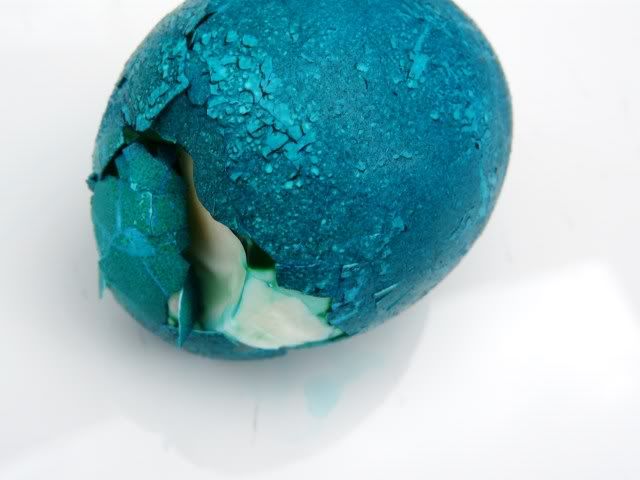
This fun and simple project gives you a reason to dye eggs that have nothing to do with a fuzzy white bunny.Trust us, your kids will love this one!
1. Hard boil some eggs.
2. Bang them up and make them crackle-y all over, but DON'T peel them.
3. Mix up egg dye using food coloring and vinegar {Follow the instructions on the back of the food coloring box.}
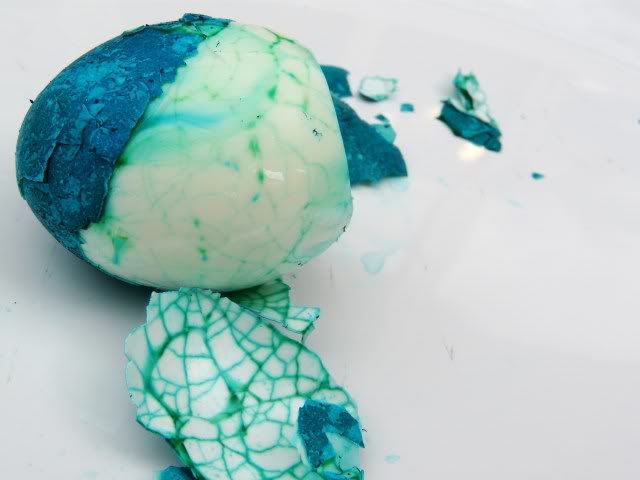
4. Put the crackled eggs into the dye and let sit for a few minutes.
5. Take them out, peel, and enjoy! They are perfect for your dinosaur theme, and are a healthy snack to boot!


PhotobucketPhotobucketPhotobucket
Fossils:
To make your fossils, you're gonna need some Play-dough. It's totally fine to use store bought "Play-Doh" but if you wanna get your cheap on, feel free to mix some up with a few simple ingredients.
We have a fantastic home made play-dough recipe here. 


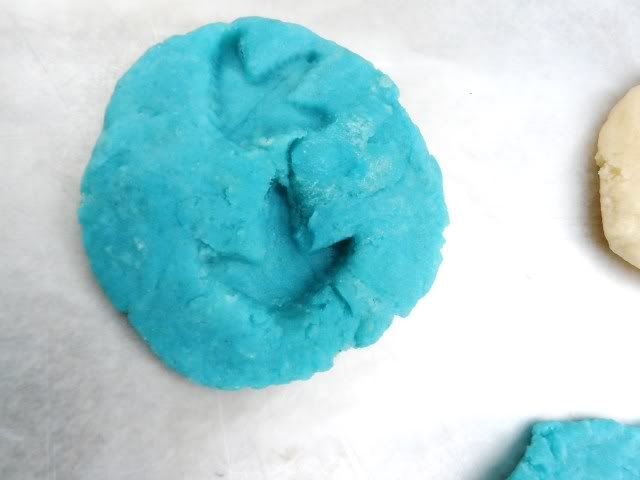
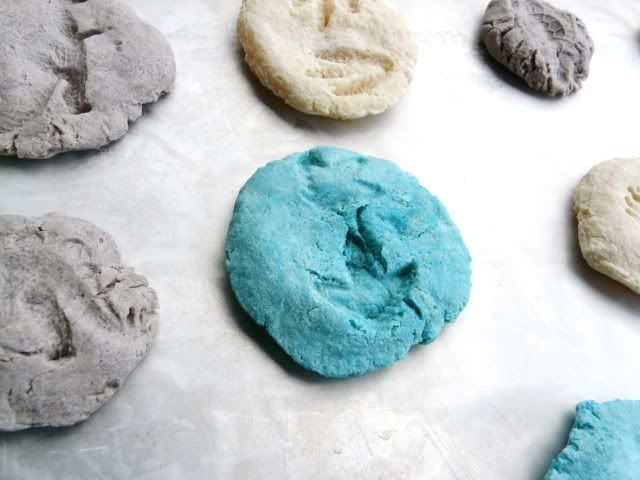
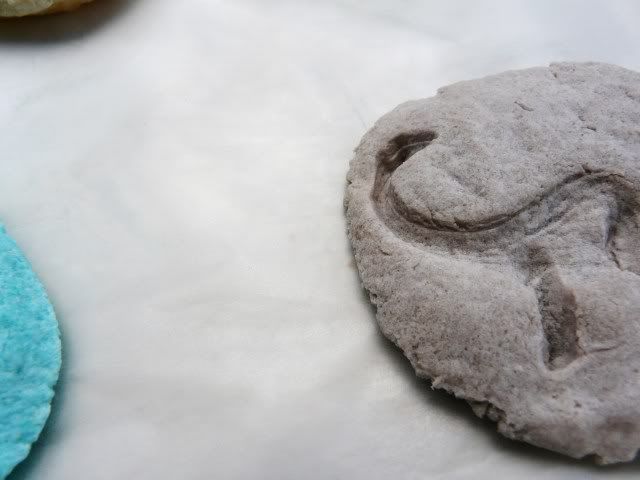
Once you've got your play-dough situation figured out, make little balls, smash them down into pancake-y patties, and then let the kiddos mush dollar store dinosaurs into them.

Photobucket
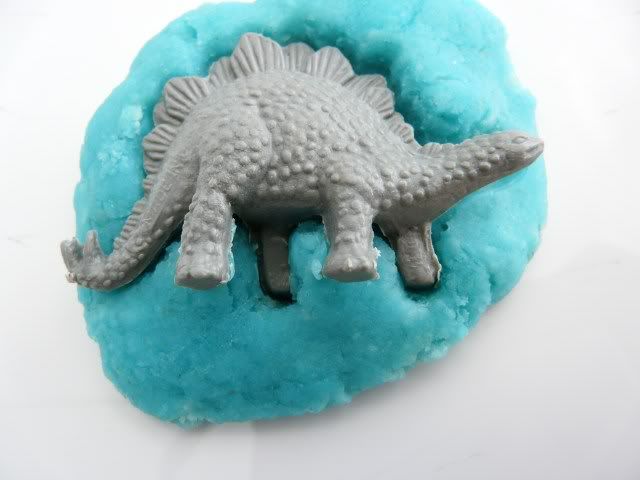
They can also smash larger-sized dino feet into them.
PhotobucketPhotobucketPhotobucketPhotobucketPhotobucketPhotobucket
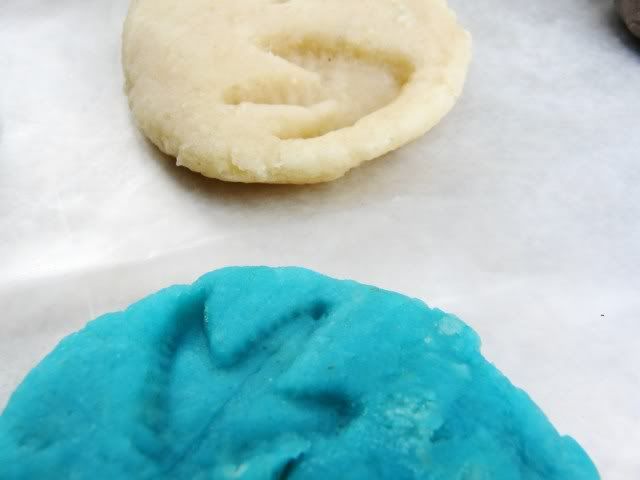
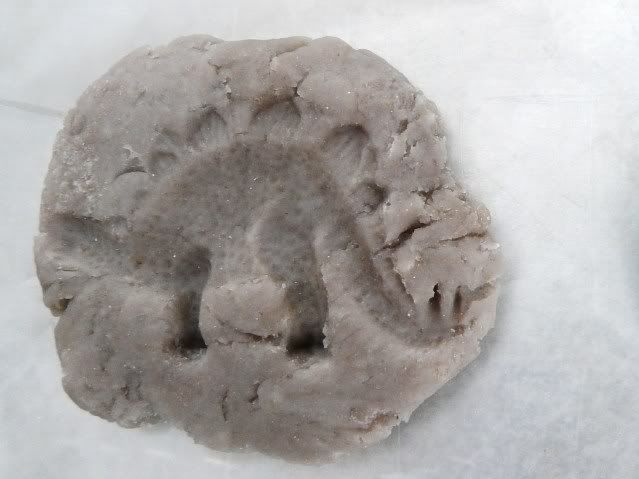
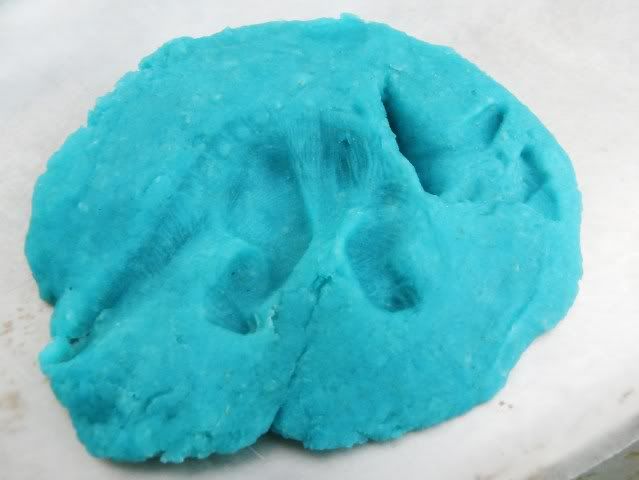
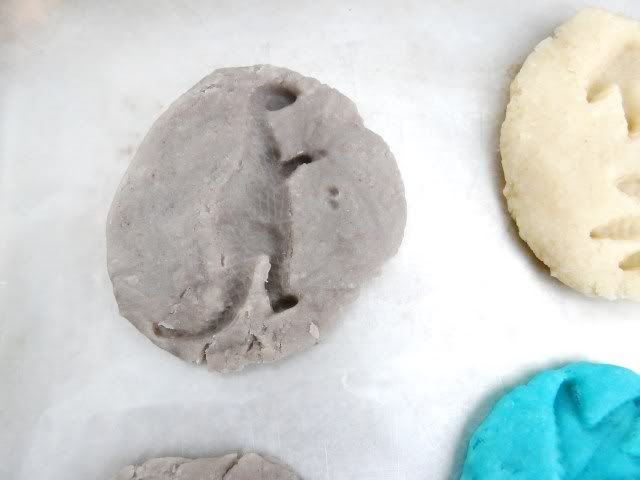
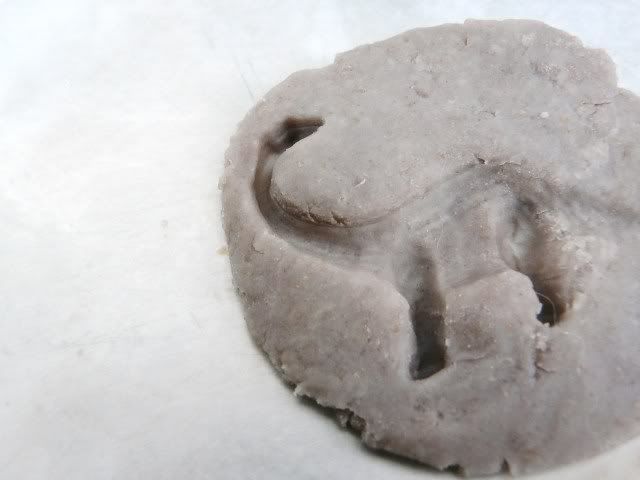
 Put the "fossils" on a baking sheet and bake them at 350 degrees for 15-20 minutes. Take them out and let 'em cool. They will look something like this:


Photobucket
Photobucket

Now that you've had fun MAKING the dinosaurs, the kids can enjoy playing with them too! Take all of your fossils and bury them in your sand box and let the kids excavate with paintbrushes/toothbrushes/whatever you have handy and see how many fossils they can dig up.

If you don't have a sand box, one variation is to hide the fossils and/or the dollar store dinos all over your house/yard and let the kids go find them. Let everyone take a bag-ful of dino-goodies home with them.

Other Activities:
1. Learn all about dinosaurs, or read fun and funny dinosaur themed books together.
2. Have smaller children act like dinosaurs. What do the meat-eaters act like? What about herbivores?
3. Watch a dinosaur movie.
4. Make and decorate a volcano cake together.